Hi food lovers, hope you are all enjoying this hot summer! I finally signed up for a public instagram account that will be dedicated to this blog and my food adventures in general, so if you have an instagram account, please follow me @ CinCinLetsEat.
Next week I’ll be posting all about my delicious travels and road trips over the last few months, so stay tuned! But this week is all about a grand ballerina/princess cake and cupcakes I made for my niece’s 4th birthday party. I know this post isn’t cooking-related but I hope some of you will find it useful if you have some little princesses at home.
My nieces are just the cutest and funniest girls (who are also ridiculously sassy). I’d like to think that I’m the crazy and fun aunt who bakes delicious sweets for them. I have definitely refined their very young palates, as they often tell me that they love French macarons and demand that I make them some. And more than one occasion when they saw desserts in my parents’ kitchen, they would asked if I made it. I have interpreted that as “if aunty didn’t make it, we don’t want to eat it!”
Anyway, one month before the eldest’s birthday, She and I had our secret meeting about what the cake should look like. Actually, the meeting was very short, she did all the talking and it went something like this: “Purple. Pink. Wait no, pink! But purple is my favorite color, ok? Ballerina. Tutu. Hello Kitty!!!! yes? Cake for all my friends!!!” Ummm okay, should I also dump a gallon of pink and/or purple fairy dust on top of the cake?
So I have this vision of a cake covered in pink ruffly patterned fondant to resemble a tutu and a Hello Kitty cake topper in ballerina disguise, but it lacked an oomph of some sorts. Then I went on Pinterest and hit the mother load. There are tons of pictures on ballerina themed parties and I fell in love with the idea of covering up the cake stand with tulle fabric to resemble a tutu. Out of all the tutorials and links that I found, this one was my favorite. It actually uses a hat box instead of a cake stand, GENIUS! I don’t have to worry about breaking my precious cake stands, and can easily re-decorate the hat box in the future to suit other party themes.
I actually had a 3-tiered cake box on hand, the kind that you stack together at weddings to resemble a wedding cake but it’s really for the guests to deposit their cards and gift envelopes. The diameters of the boxes are 12″, 15″, and 18″, I used the 12″ as the cake itself was 9″ in diameter. You can find inexpensive hat boxes at dollar stores and craft stores.
Rolls of tulle fabrics can easily be purchased from any fabric or craft stores. They are fairly inexpensive. I purchased them in 3 color: white, light pink, fuschia, at 25 yard each, there will be plenty leftover for future uses. I used some of the leftover tulles to make tulle pompoms to go on top of the cake.
The gold elastic band actually came with a box of fancy chocolate. I save a couple of those things around for no particularly reason, and was so glad to find a use for it. You can also purchase elastics from craft and fabrics store, just be careful to not buy the really thin kind for beading/jewelry, because it will break!
What you will need:
- scissors
- 2 or more spool of tulle, 25 yard each, your choice of color. (the bigger the cake box, the more tulle you’ll need)
- 1 elastic band (NOT the kind for beading, they are too thin and will break easily.)
- 1 hat box (mine is 12″ diameter)
Directions
- Cut the tulle into pieces that are twice the height of the cake box. A little longer or shorter is okay, and they don’t all need to be exactly the same.
- Tie the elastic along the side of the box. Make sure it’s on tight enough so that the weight of the fabric won’t make it slide.
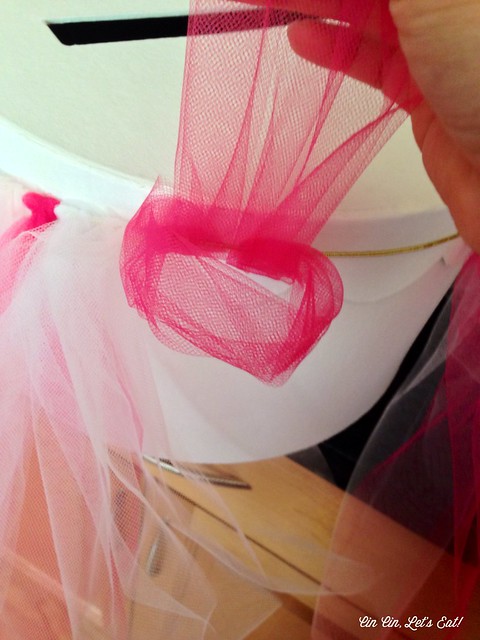
- fold a piece of cut tulle in half lengthwise, slide it under the elastic and pull the fabric below through the loop. Pull to tighten slightly until a knot is formed. (This no-sew tutu idea came from here. She did a great tutorial, very easy to follow!)
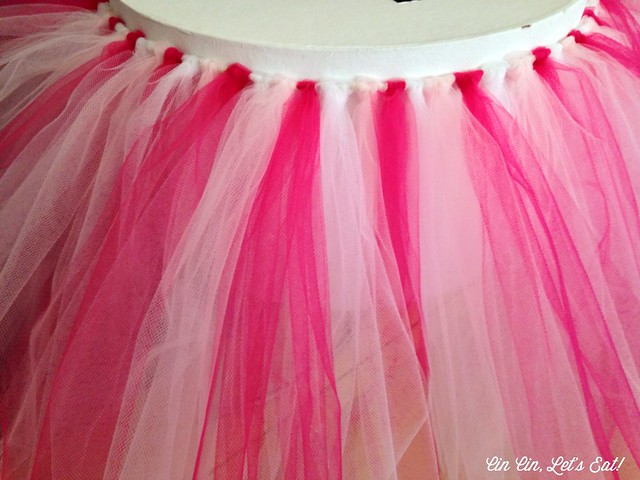
- Repeat with your pattern/color of choice until you go around the entire circle. (Mine was white-pink-fuschia and repeat.) To make a fuller tutu, pull each piece of tulle tightly to form a smaller knot, then you have more room to fit more pieces of tulle on the elastic.
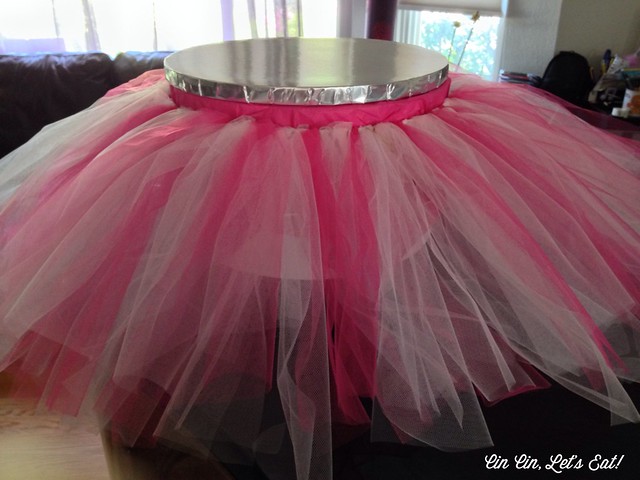
- Fluff the finished tutu and adjust the position of the elastic band on the cake box. Top it with a cake base and it’s ready for action!
- Optional: decorate the lid of the hat box to match your color theme.
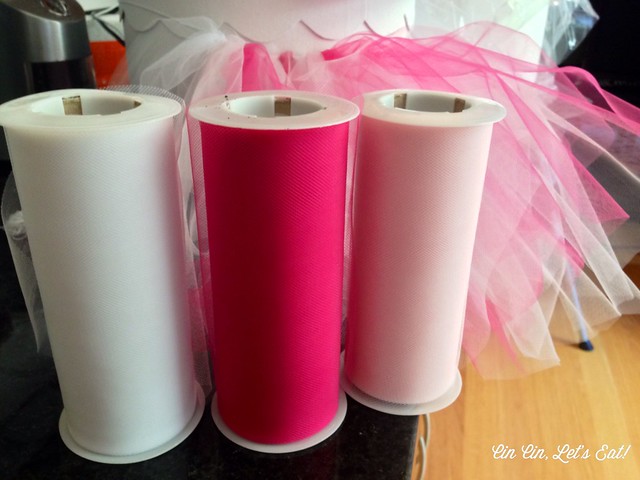
white, fuschia, and light pink tulle fabric.
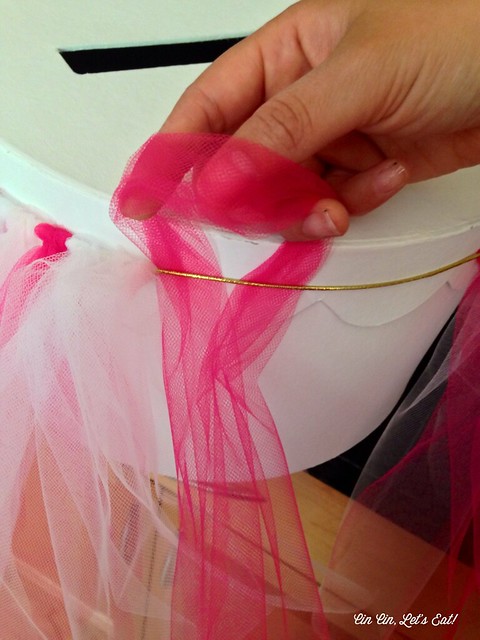
slide under the elastic.
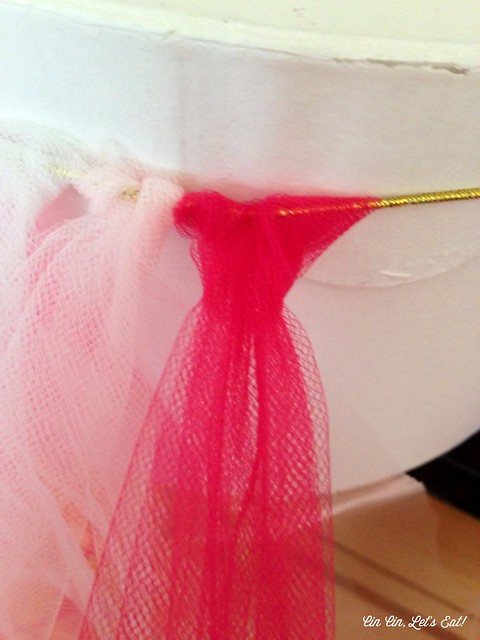
Pull to tighten slightly, until a knot is formed.
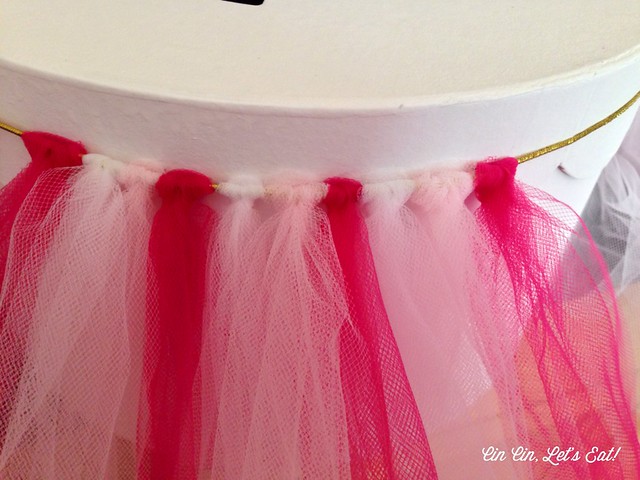
Repeat!
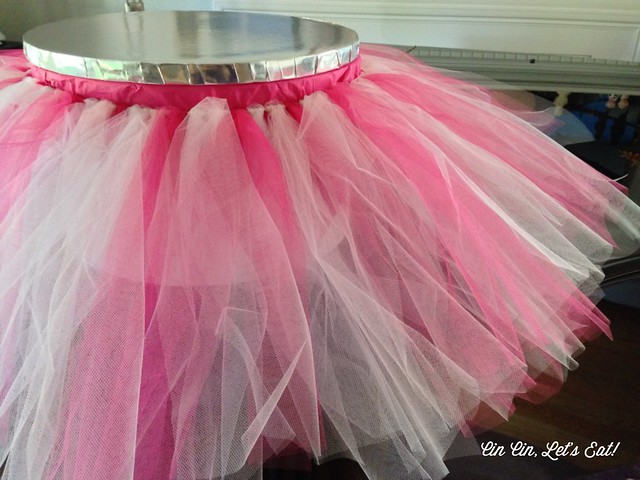
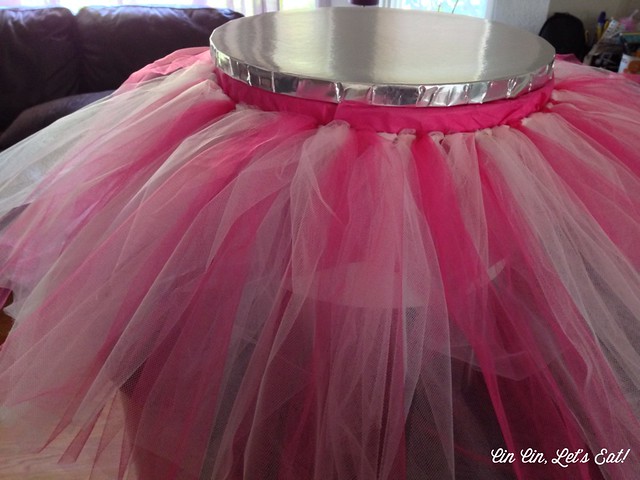
ta-da! The silver round on top is a 12″ cake base from Wiltons and the cake will sit directly on top of it.
Here is a picture with the finished cake. I will post about the cake and the cupcakes tomorrow. The Hello Kitty tiara was purchased from party city, and the Hello Kitty candle from Safeway.

That was a super fun party and the cake was a huge hit! The tutu cake stand didn’t cost much to make but took the presentation to another level.
That’s it for now, stay cool and hydrated everyone. Don’t forget to follow me on Instagram (CinCinLetsEat) if you want a daily dose of good eats!


This is the cutest thing ever! I also save those elastics for chocolate boxes, though I don’t do anything with them.
I am so glad I found these instructions. I sat staring blankly at my sewing machine (which must be over 6years old and never used). Staring blankly because I last used a sewing machine about 20 years ago, so was dreading the thought of trying to sew/make a tutu.
Followed these instructions for a tutu for my cake stand for my niece;s 1st birthday. All in all the process took me about 20 mins to make (rushed job) and it looked very awesome.
You are a lifesaver LOL. Thank you muchly